Welcome to my blog!

Here I am, enjoying nature in a lost forest
Contact: muguruzainigo@gmail.com
ULX3S Development board: getting started
Now that winter is coming again back, I am trying to order the projects I would like to develop in the following months. Is always hard to find time to tinker and write this blog entries, but, at the same time, it is really satisfying.
I would like to continue exploring new ideas using FPGAs and, at some point, I would like to design a board using KiCAD. I also feel tempted to get a development board such as the Ultra96v2 or the new Kria SoM to play with ROS2 and hardware acceleration, which I think is one of the coolest thing to do out there. But, as the chip and component shortage is really bad and I still have plenty of material to keep tinkering, I will save money for now.
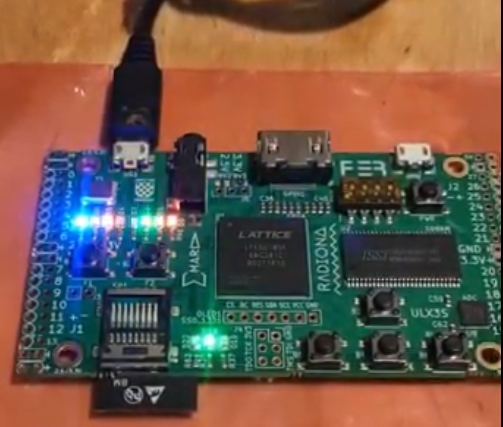
It’s been a while since I purchased a Radiona ULX3S board and still haven’t used it. So this blog entry shows the first steps I have made with this board. There are several reasons why I purchased it:
- It contains an ECP5 Lattice FPGA, much more powerful that iCE40 family. (Check the comparison I did)
- It contains an ESP32 with bluetooth connectivity. That means Ii is possible to build a mobile robot and control it through the laptop.
- I can synthesize RISC-V cores, so I can start exploring hybrid computing architectures.
- It has been designed in KiCAD.
- It’s open source.
- It has many exposed GPIOs and interfaces
- And, last but not least, the design is really neat and small.
You can see some characteristic of the board in the next image:

Updating the toolchain
As it has been a while since I lastly used FuseSoC, Yosys and Nextpnr, the first step has been to update all the tool-chain. In addition I had to install the nextpnr specific for ECP5, supported by Project Trellis, as the target is not the same as the Alhambra board I have used till now.
For updating Yosys, I just have updated from apt: $ sudo apt-get install yosys. Now, I had to install the tools from Project Trellis. Follow the instructions and don’t forget to clone the repo using --recursive option, otherwise, you will not get the required database compiled.
Then, you need to get the nextpnr place and route compiled with the Trellis tools you did before. You can find the instructions here.
Last but not least, for downloading the bitstream to the board, I have installed fujprog. You can go to its GitHub page and download the precompiled binary and place it under /usr/bin
Loading the precompiled Blinky
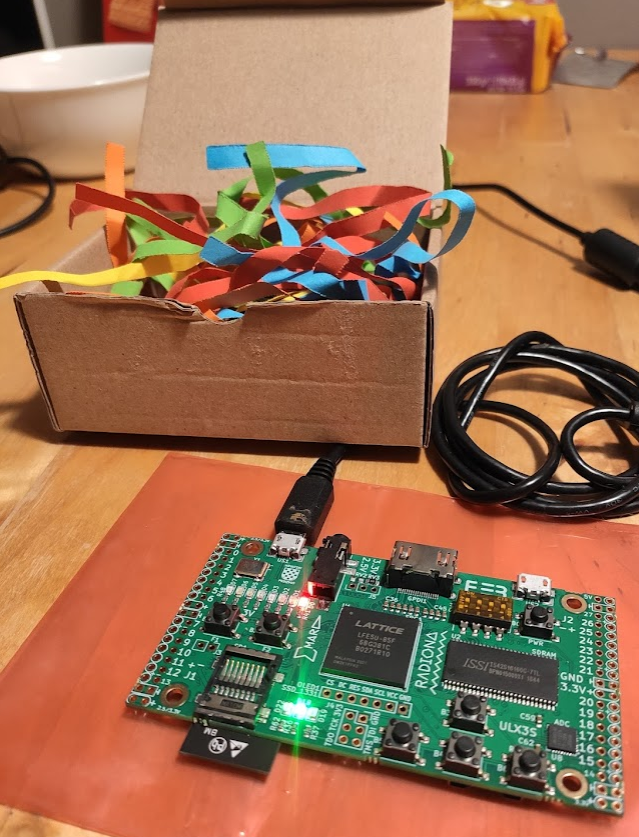
For this first example, we will just download a precompiled bitstream to the board. To do so:
$ git clone https://github.com/ulx3s/blink.git$ cd blinkConnect the board to the PC using the port US1 and execute the next command:fujprog blink_85f.bif
Now you should see that the LEDS start blinking, doing a binary counter pattern, something like this:
FuseSoC LED to believe
Now that we have upload a precompiled example, let’s flash FuseSoC’s “LED to believe” example. A while a go, I ported this example to the Alhambra II board, but this time, this example is already supported.
Before flashing, I have updated FuseSoC, to fetch the latest libraries: $ fusesoc library update.
Then compile the blinky example: $ fusesoc run --target=ulx3s_85 fusesoc:utils:blinky.
Last, you can use fujprog to upload the bitstream. For doing so, go to be build folder and upload the bitstream:
$ cd build/fusesoc_utils_blinky_1.0/ulx3s_85-trellis
and
$ fujprog fusesoc_utils_blinky_1.0.bit. Now you should see something like:

And a red light should be blinking!
Next Steps
Now that I got my hands dirty again, one of the following steps I want to do is to understand the hardware design of the board, so I will print the schematics and review how everything is connected. Afterwards, I might refresh the use of FuseSoC and Verilog, making some simple examples using LEDs and buttons.
Fresh News: Renesas ForgeFPGA
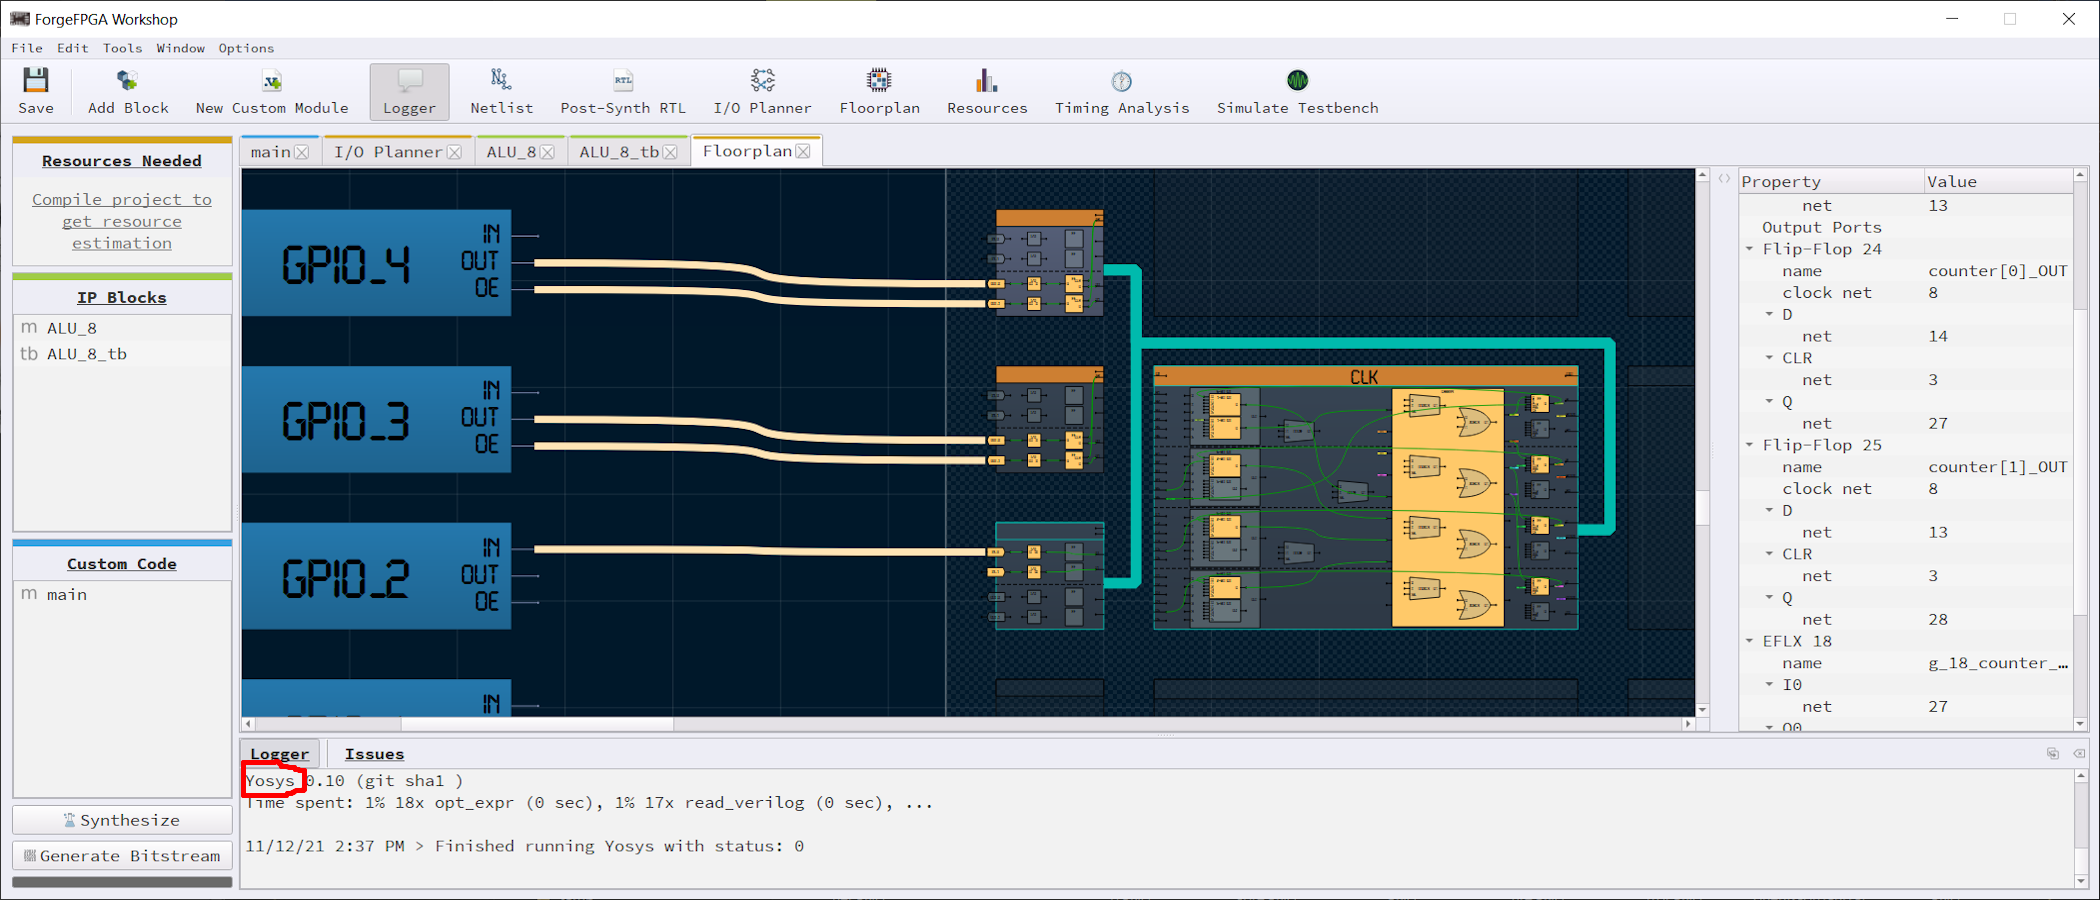
I just wanted to add that Renesas has announced that they will start selling small FPGAs, this FPGA family has been named as ForgeFPGA. They have shared that it is designed for low cost, ultra-low-power and low density (<2K LUTs) applications. It is good to see that new players enter into the market. But what I found more satisfying is to see that their design tool is based in Yosys:
Is it another sign of change in FPGA toolchain paradigm towards open-source? I hope so!